Brooding baby quail
I really wanted to keep quail so in January, we placed 60 eggs into our incubator and 43 birds have hatched. I was so happy with such an excellent hatch rate.
Now came the challenge of raising the baby quail. We have never hatched anything before so brooding baby chicks was a brand new experience - one that taught us many invaluable rookie lessons. Whilst admitting to these mistakes is a little embarrassing I feel that I learned so much and grew a foot as a homesteader!
I was so proud of the super cute brooder that I decorated ready to house little baby birds (see photos and a video below!). It was a large and economic pet cage that we bought on eBay placed on a high chest of drawers in our living room, so that our two highly excitable dogs wouldn’t be able to get too close and scare the young birds. We wrapped it with some kitchen foil to eliminate the gaps between cage bars and prevent the tiny baby quail accidentally jumping out of the cage.
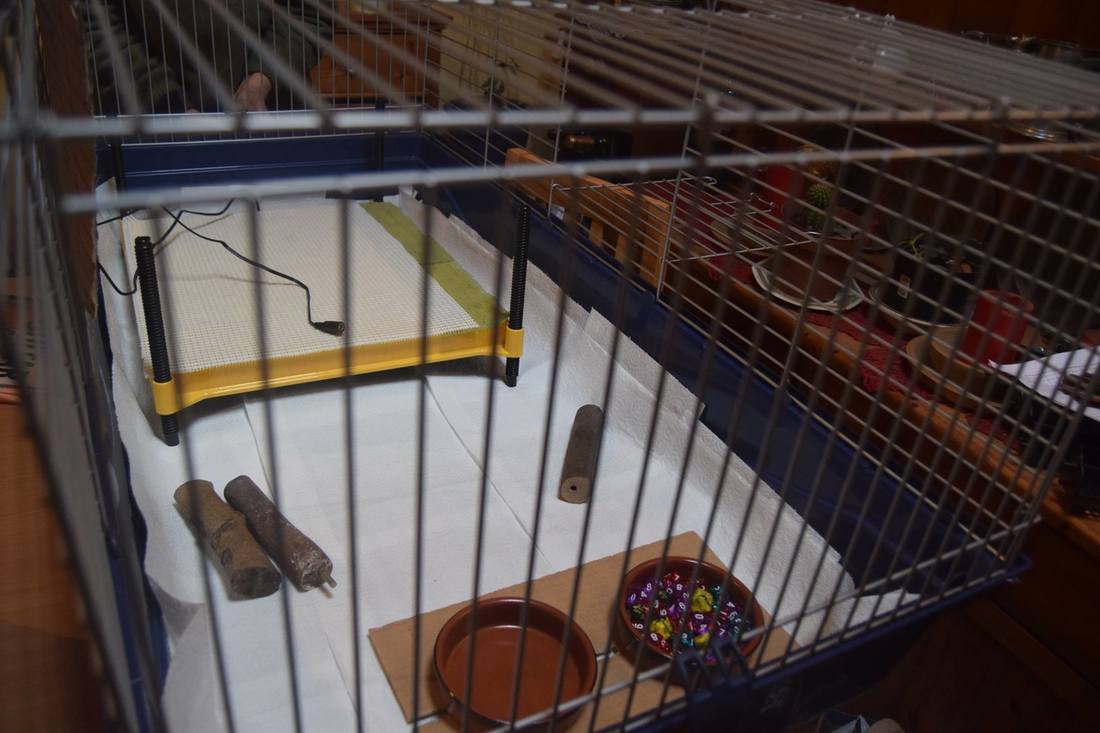
Indoor brooder cage for quail
|

Decorated indoor brooder cage
|
|
|
|

Hatching quail for the first time!
|
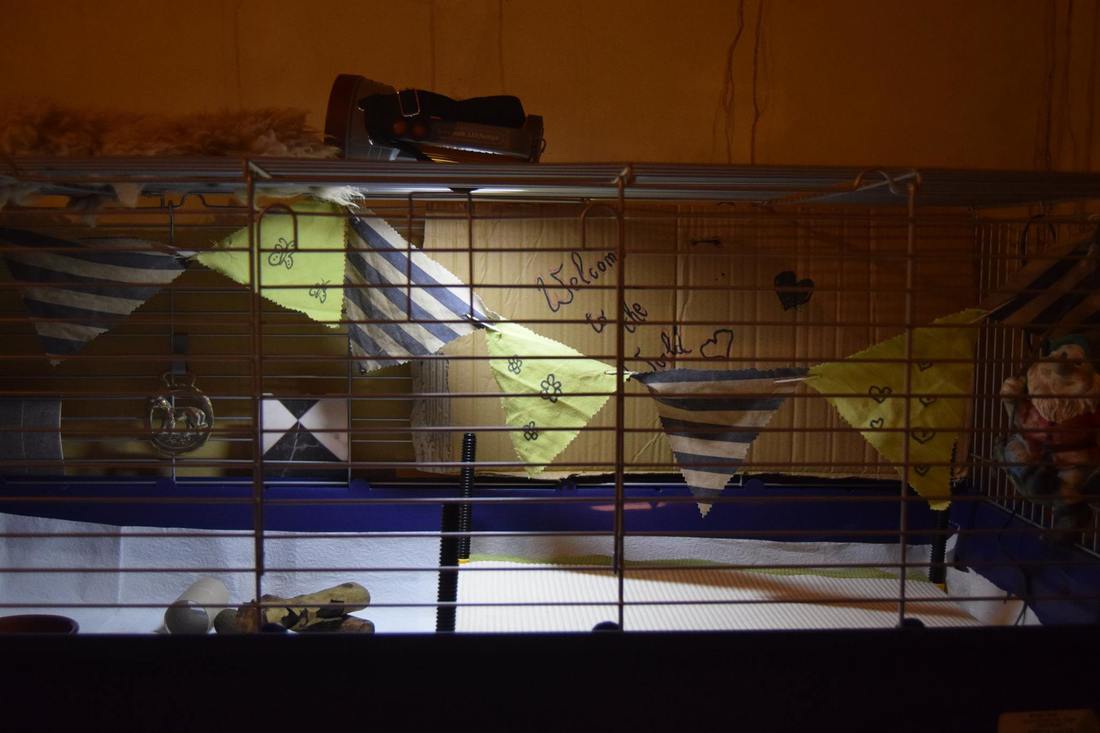
Bunting, garden gnome, horse brass decorations inside a brooder
|
|
I also placed the Brinsea Ecoglow 50 Chick Brooder heat stand inside to provide warmth, which, my research suggested, was more energy efficient and safer than any heat lamps on the market. I added a simple feeder and a few branches for a more natural look as well as a few feathers that our chickens have been dropping in the garden. The water was placed into a shallow dish we had laying around in the kitchen filled with Dungeons & Dragons playing dice which we haven’t got around to using for the game yet, but which did a good job at keeping the baby quail from drowning.
|
|
I even went as far as making “welcome to the world” sign, adding cheerful bunting, hung a garden gnome and decorated it with a couple of horse brasses. The bunting was quickly sown together from various scraps of material we had laying around and James thought I was really going overboard, but it was my first time welcoming new life into our homestead and I couldn’t help feeling excited!
|
|
|
The first few weeks of raising baby quail were tricky and there were many lessons I've learned.
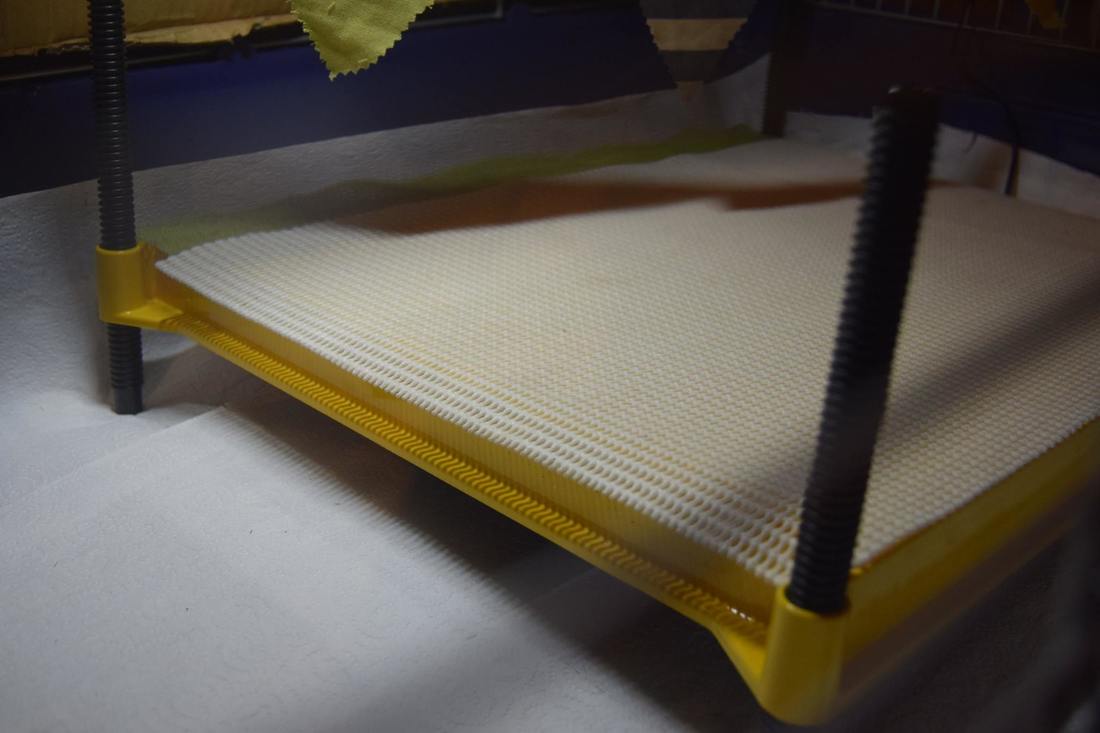
1) Use anti-slip mats!

Use anti-slip mats inside the incubator and brooder
When the baby quail first hatched they slipped on the incubator floor and on the brooder lined with kitchen roll and splayed their little legs. We had to perform an emergency operation on quite a few of them, tying their little legs together with a piece of string so that their hips set back into place. This was an effective remedy, but we quickly learned that it would have been easier to prevent the problem in the first place, and now we always put the anti-slip mats both in the incubator and in the brooder under the kitchen roll, which provides more grip and prevents the little legs from splaying.
|
|
|
2) Adjust the heat stand to an appropriate height!
Ensure the heat stand is set to correct height
My first fatal mistake was setting the brooder hen stand at a very low height. The instructions that came with it simply said that I can adjust the height appropriately and I didn’t know what appropriate height was, so, looking at a tiny bird that hatched out of a tiny quail egg I set it really low. A few hours later, I found four baby quail stuck in between the brooder floor and the low heat stand, unable to move. The birds were gone and I was so sad and terrified to learn of such a horrific first death! It was completely my fault and I felt embarrassed, guilty and foolish. Nowadays, my strategy is to raise the brooder heat stand too high rather than keeping it low and snug.
|
|
|
3) Protect the birds from drowning!
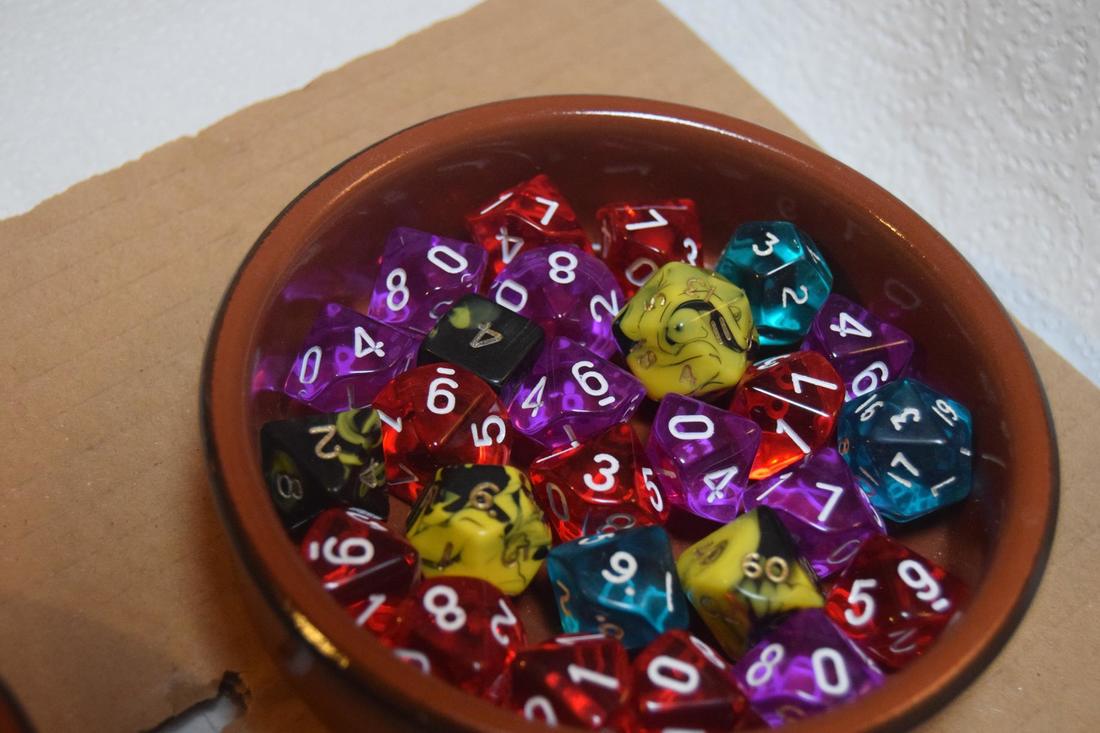
Always use marbles, rocks or playing dice inside drinkers
|
My second fatal mistake was changing the quail water system too soon. The shallow dish with D&D dice I had been using proved very time-consuming to keep refilled so I bought a mushroom drinker from eBay which was brilliant - it is very cleverly designed and self-refills so I only had to top their water up once a day - not once an hour! It was such a great investment, but, I figured the design was safe and didn’t need to change anything about it. Only hours after installing the new drinker I found not one, but two quail laying drowned inside the narrow drinking trough. Instantly, I cleaned the drinker and placed a handful of cheap glass marbles into the trough which prevented anyone else from drowning and is a system I use with all new hatchlings to this day.
|
|
|
|
|
4) Do not use a hot water bottle!

Using a hot water bottle to keep baby chicks warm?
I wanted to keep my cute brooder nice and tidy so I was cleaning it out twice a day, each time completely removing the birds from the brooder and placing them into a plastic tote I had nearby. This system allowed me to remove all things from inside and clean it properly, replacing the kitchen towel I used as a bedding and wiping off the heat stand. It was a cold February so to keep the babies warm I figured I could put a hot water bottle inside the tote and they could cuddle up to it and keep warm. However, instead of cuddling to the bottle, the quail all rushed to get under the bottle and managed to squash and trample two of their siblings. It was an incredibly foolish idea, one I regret and will never repeat - I now understand that the process of cleaning the brooder takes not more than 10 minutes and the birds are perfectly capable of waiting that long without the heat.
The process of incubating tiny quail has taught me lessons that I remember with great sadness and guilt but it makes me think about safety of all future hatchlings and I haven’t repeated any of these mistakes since. It was a definite “learning the hard way” experience but I still had 35 birds growing well, becoming bigger by the minute and definitely in need of a larger space than our brooder was providing.
|
|
|